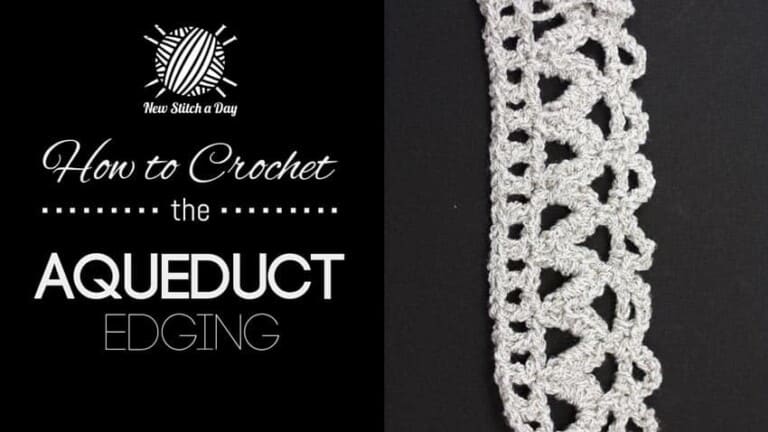
This crochet tutorial will help you learn how to crochet the aqueduct edging stitch. This stitch creates a delicate looking pattern. The aqueduct edging stitch would be great all edging projects!
Row 1: (Right Side): Work 1dc into 6th ch from hook, *1ch, skip 1ch, 1dc into next ch; rep from * to end, turn.
Row 2: 1ch, 1sc into 1st dc, *5ch, skip 1dc, 1sc into next dc; rep from * to last dc, 5ch, skip 1dc and 1ch, 1sc into next ch, turn.
Row 3: 1ch, 1sc into 1st sc, work 7sc into each 5ch arch to end, 1sc into last sc, turn.
Row 4: 5ch (count as 1dc, 2ch), skip 1st 4sc, 1sc into next sc, *3ch, skip 6sc, 1sc into next sc; rep from * to last 4sc, 2ch, 1dc into last sc turn.
Row 5: 1ch,1sc into 1st dc, 5ch, 1sc into 2ch sp, into each sp work [1sc, 5ch, 1sc] to end placing last sc into 3rd of 5ch at beg of previous row. Fasten off.
Repeat rows 1-5 until you have reached your desired length.
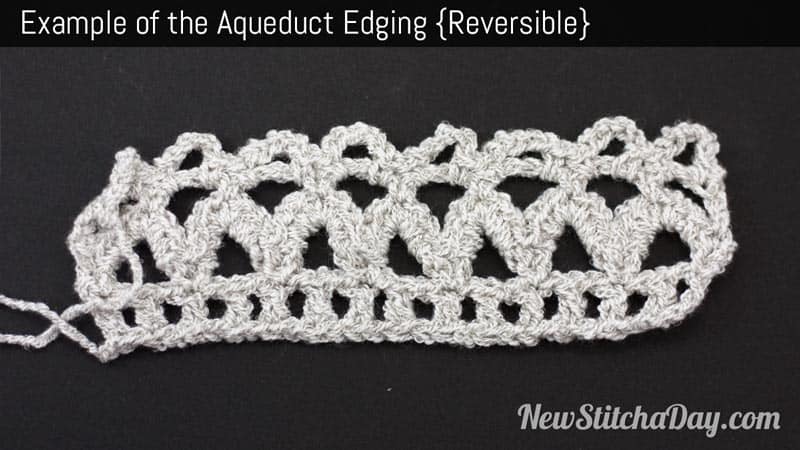
Stitch Pattern Swatch Photos
Example of the Aqueduct Edging Stitch. Reversible (Click for Larger Image)