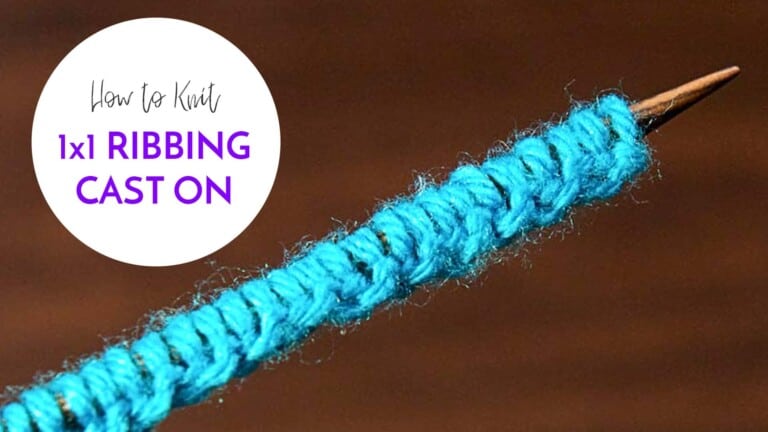
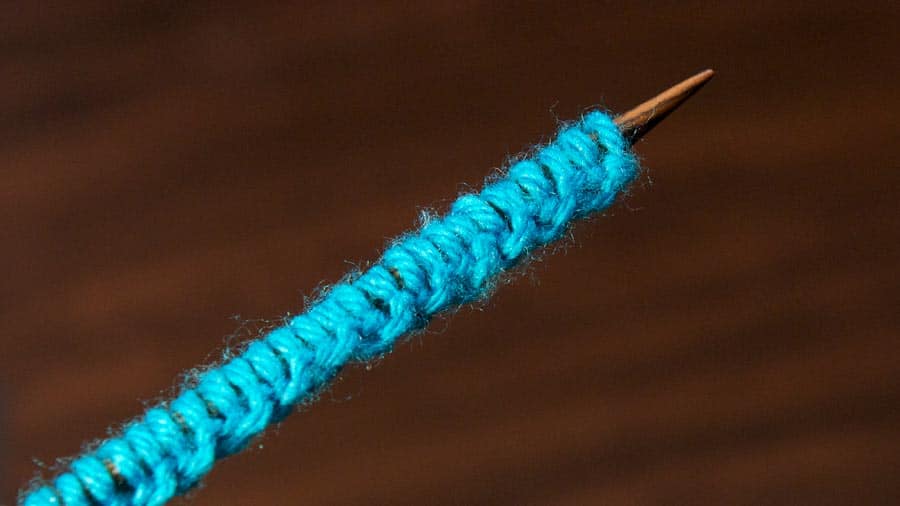
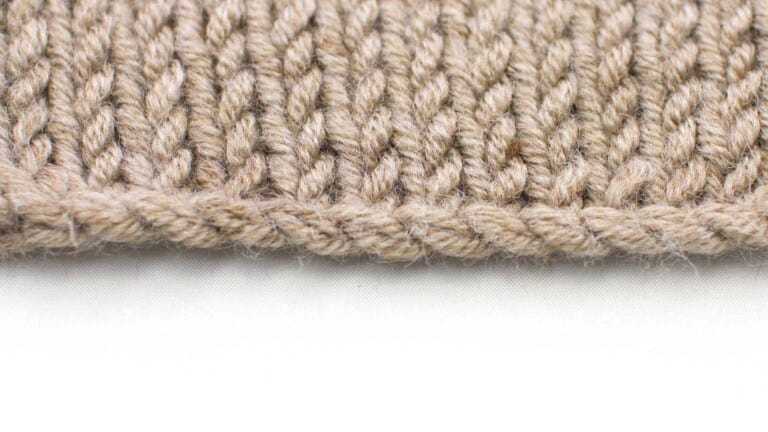
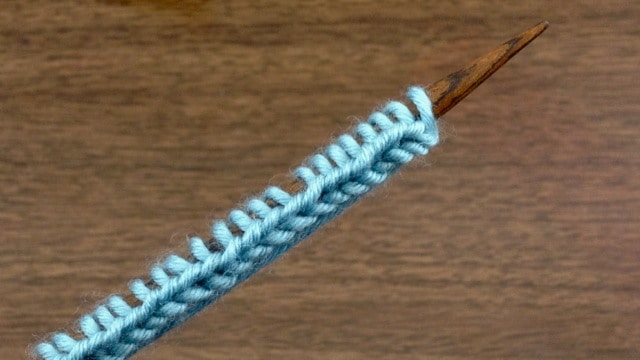
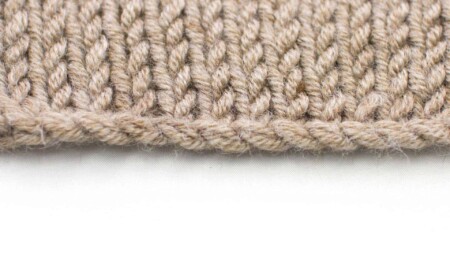
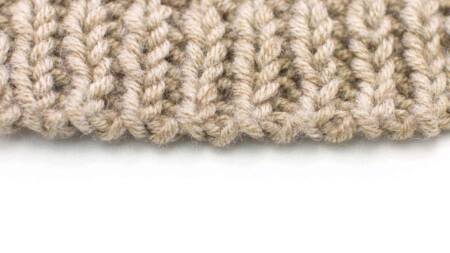
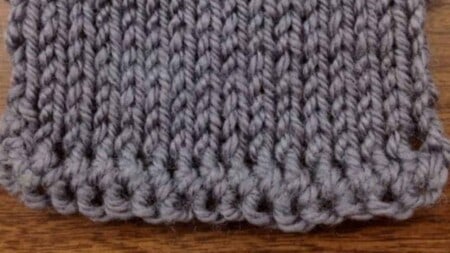
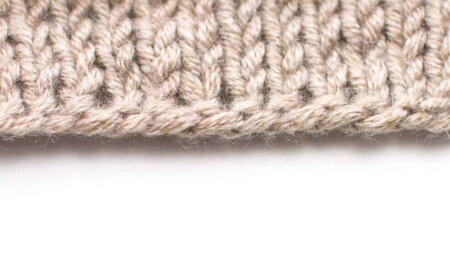
The 1×1 Rib Cast On is a method of attaching your yarn to your knitting needles to mimic ribbing. This is a variation of the Long Tail Cast On. Instead of using the traditional long tail, this technique alternates between a regular long tail stitch and a reverse long tail, creating stitches perfectly situated for 1×1 ribbing. This technique can be used for any kind of ribbing sequence.
This is one of the easier cast ons for ribbing, especially if you’re already familiar with the long tail method.
Step 1: Take a length of yarn from your ball of yarn.
[wc_highlight color=”blue” class=””]Tip – For the long tail measure about one inch per stitch. How many stitches will be dependent on your pattern[/wc_highlight]
[wc_highlight color=”red” class=””]Warning! – If you do not measure enough yarn to begin with you may run out will have to start over.You can always cut off extra yarn when you finish casting on.[/wc_highlight]
Step 2: Make a slip knot and insert the needle into the loop. Tighten slip knot onto needle.
[wc_highlight color=”red” class=””]Warning!– When casting on a lot of stitches the yarn has a tendency to untwist. Make sure the long tail is closest to you so you can easily retwist the yarn as you go.[/wc_highlight]
Step 3: With your bottom three fingers grab both pieces of yarn and hold them in your palm.
Step 4: Take your index finger and thumb and push them through the two pieces of yarn.
Step 5: Shift your thumb and forefinger backwards to pull the yarn tight. This should create what looks like a slingshot or “V”
Step 6: Take the tip of your needle and pick up the bottom piece of yarn closest to your body.
Step 7: Swing the needle around and under the yarn wrapped around your index finger.
Step 8: Pull the needle through the loop of yarn on your thumb.
Step 9: Release the yarn around the thumb.
Step 10: Pull the yarn tight on the needle, but not so tight that you are unable to move the stitch easily along the needle. Reposition your fingers back in the “V” formation.
Step 11: Bring the tip of your needle under the last strand of yarn on your index finger
Step 12: Bring the needle over the second strand on your thumb, around, and under.
Step 13: Pull the needle through the loop on your index finger.
Step 14: Release the yarn on your index finger.
Step 15: Pull the yarn tight onto the needle, making sure it can easily move along the needle. Reposition your fingers in the “V” formation.
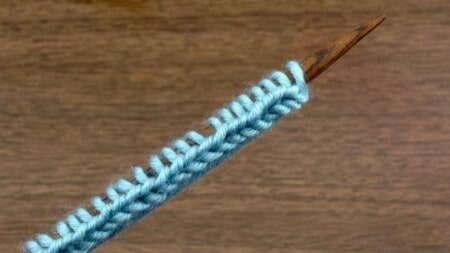
Repeat steps 6-15 until you have cast on the desired number of stitches.