
Advertisement
Alternating Cable Cast On

787
shares
About This Technique
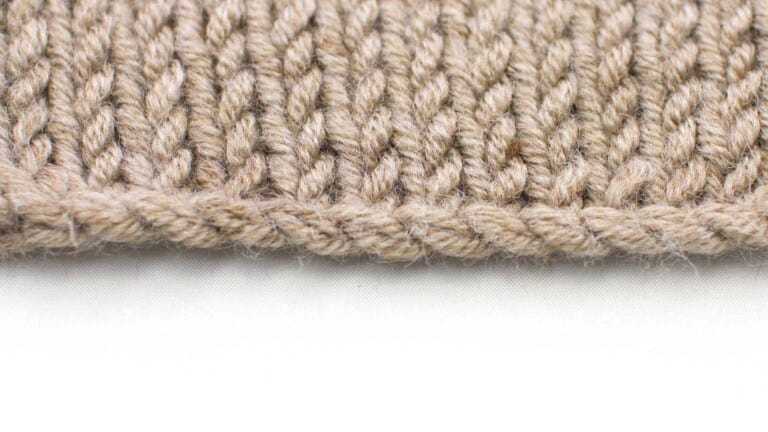
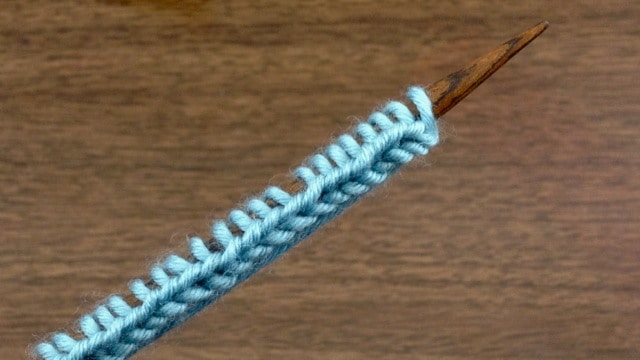
The Alternating Cable Cast On is a version of the Cable Cast On. The advantage of Cable Cast Ons is they create a very durable edge, which is great for projects that get a lot of wear and tear, such as sweater cuffs, collars, or the bottom hem of a sweater.
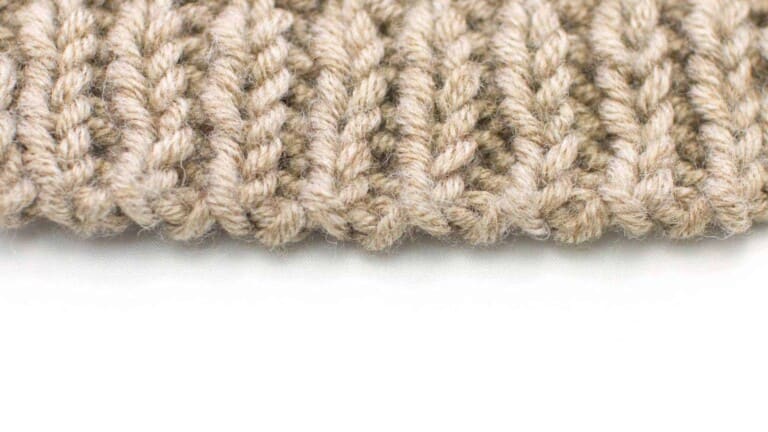
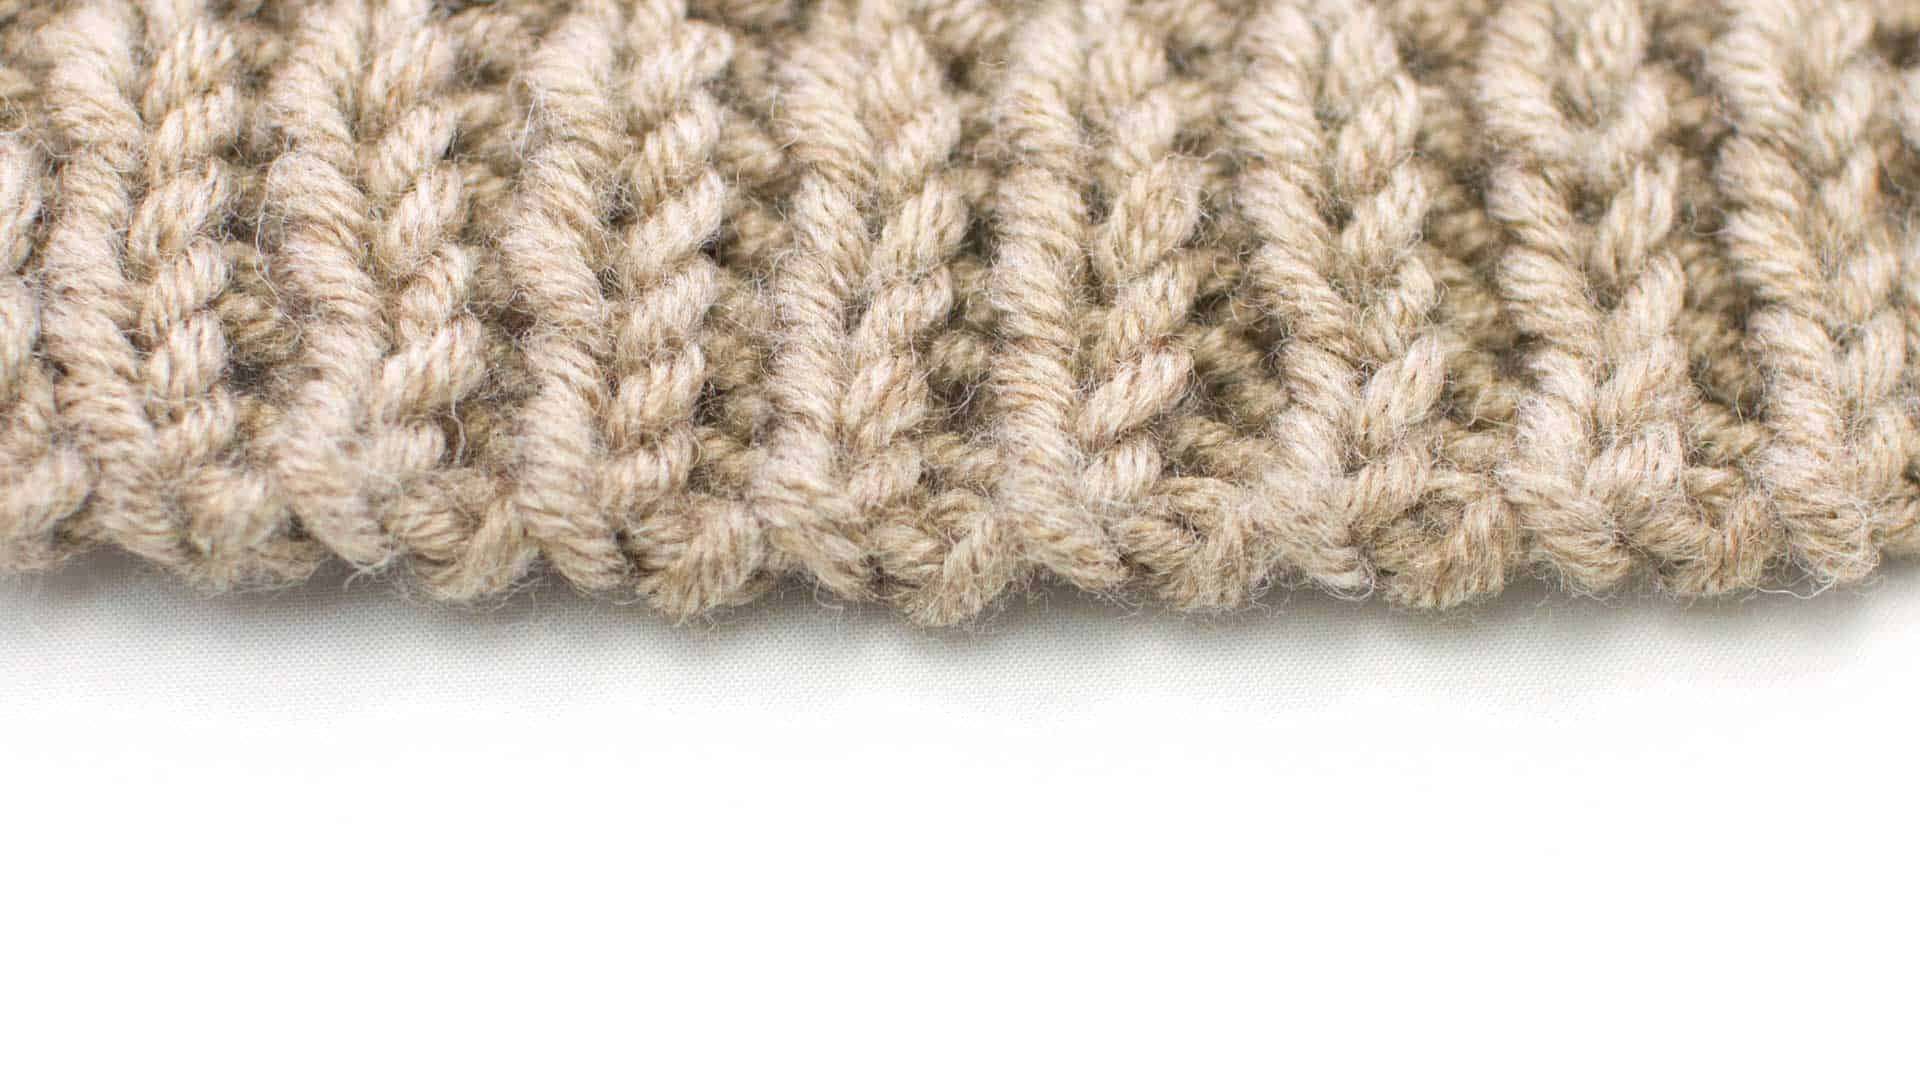
The difference in an Alternating Cable Cast On is that it adapts the cable cast on for ribbing. With this technique you’ll switch back and forth while creating the cast on edge. This situates the stitches in an optimal way for ribbing. You can use this technique for any type of rib sequence, be it 1×1, 1×2, 2×2, 2×4, etc.
Difficulty: 3 of 5
Also Known As: Ribbed Cable Cast On
Bind Off Match: Bind off in pattern
[Video] Technique Tutorial
[wc_tabgroup class=”” layout=”none”]
[wc_tab title=”Right Handed”]
https://www.youtube.com/watch?v=YAqjHvRJEyEVideo can’t be loaded because JavaScript is disabled: The Alternating Cable Cast On | Knitting Stitch Pattern | English Style (https://www.youtube.com/watch?v=YAqjHvRJEyE)
[/wc_tab]
[wc_tab title=”Left Handed”]
https://www.youtube.com/watch?v=afshpuCottMVideo can’t be loaded because JavaScript is disabled: The Alternating Cable Cast On :: Knitting Technique :: Left Handed (https://www.youtube.com/watch?v=afshpuCottM)
[/wc_tab]
[/wc_tabgroup]
Technique Instructions
- Step 1: Make a Slip Knot and place on needle.
- Step 2: Take other needle, and slip it into the slip knot knit-wise.
- Step 3: Finish the knit stitch, drawing through extra slack.
- Step 4: Place new stitch on main needle, and gently tighten.
- Step 5: Insert needle in between the last 2 sts on the main needle from front to back.
- Step 6: Yo and draw yarn through. Place new stitch on main needle, and gently tighten.
- Step 7: Insert working needle between the last two sts on the working needle, from back to front.
- Step 8: Yo and draw through. Place new stitch on main needle, and gently tighten.
Repeat steps 5-8 until required number of stitches is reached.